
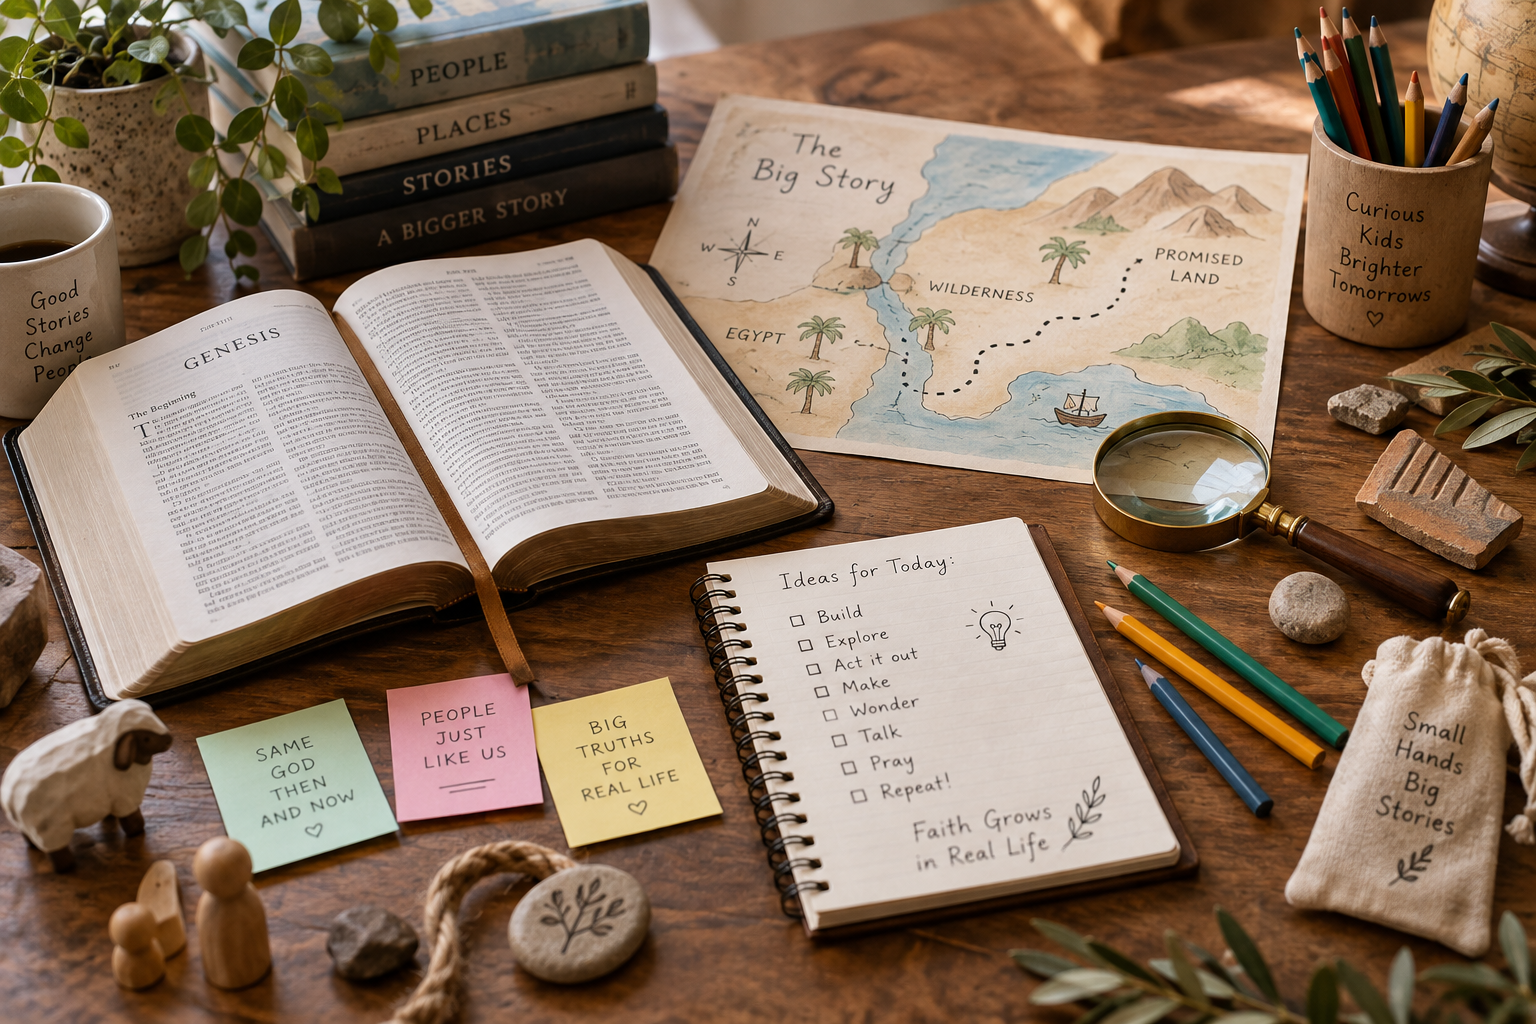
7 Screen-Free Bible Activities for Kids That Don’t Feel Like Worksheets
Written by Ryan Smith, Founder of Stone & Scribe
There is nothing wrong with a good worksheet. Sometimes you need a place to write an answer, organize information, or reinforce something a child has learned.
The problem comes when every Bible activity begins to feel like schoolwork with a different subject line.
For kids who are naturally curious, imaginative, hands-on, or easily bored by fill-in-the-blank pages, Scripture can become much more engaging when they are given something to investigate, build, map, compare, or create.
The goal is not to turn Bible reading into entertainment. It is to give children more ways to pay attention.
Here are seven screen-free Bible activities you can actually do at home, in a homeschool setting, or with a small group. Each one is designed to get kids interacting with the text rather than simply completing another page.
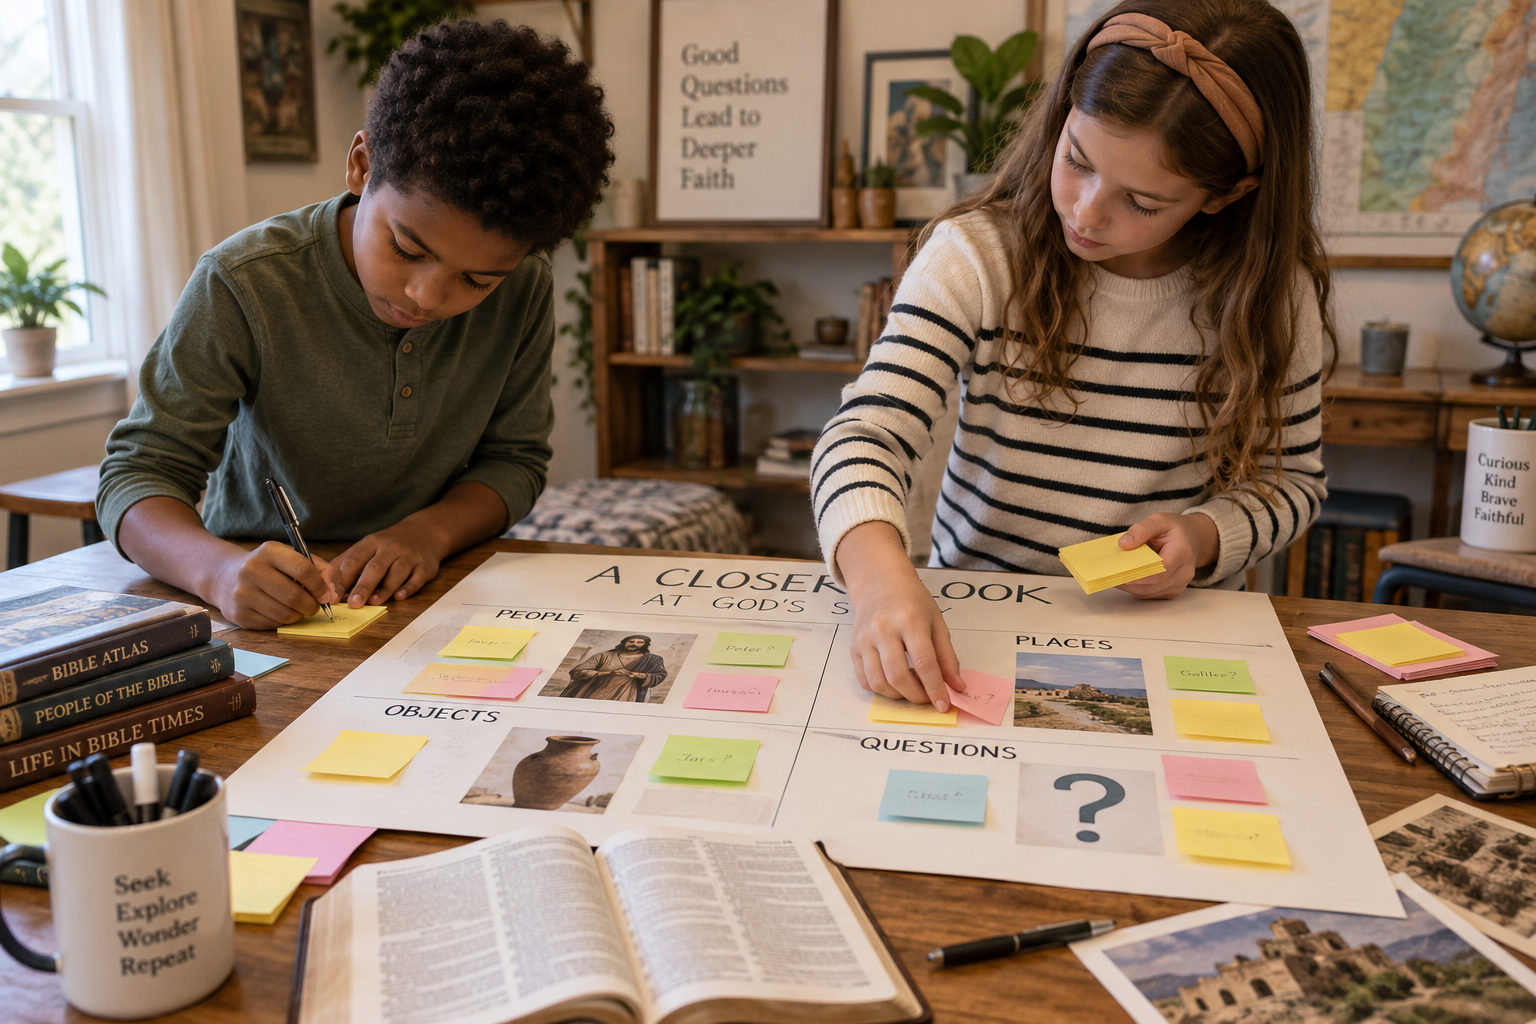
1. Build a Bible Evidence Board
This works especially well with stories that contain several people, places, objects, decisions, or unanswered questions.
What you need:
A large sheet of paper or poster board, sticky notes, markers, and a Bible.
Good passages to try:
Esther 2 to 7, Genesis 37 to 45, Daniel 6, Acts 27.
Start by writing the name of the story or main character in the centre of the page. As you read, have your child create sticky notes under four simple headings:
People
Places
Important objects
Questions or clues
For Esther, they might add King Ahasuerus, Esther, Mordecai, Haman, the palace, the banquet, the king’s decree, and the gallows. If they notice something they do not understand, that goes under Questions.
The important part is that you are not supplying all the answers. Let your child decide what seems important enough to put on the board.
Once you finish the passage, step back and look at everything together. Ask:
What changed during the story?
Which person made the biggest decision?
What detail would you like to know more about?
Is there anything on the board that connects to something else?
Take it further
Choose one question from the board and investigate it later. That could mean checking a Bible map, looking in a study Bible, asking someone knowledgeable, or finding a reliable reference book.
The evidence board can stay up for several days and grow as you continue reading.
2. Map the Journey
Biblical stories often move quickly from one place to another. A few verses can cover a journey that would have taken days, weeks, or much longer.
Mapping the route helps children realize that these were actual places connected by real geography.
What you need:
A printed map, coloured pencils or markers, string if you want to make it more tactile, and a Bible.
Good passages to try:
Acts 27, Ruth 1, Genesis 12, Exodus 13 to 15, selected parts of Paul’s missionary journeys.
Read the passage and circle every place name you find. Then locate those places on the map and connect them in the order they appear.
If you are reading Acts 27, for example, you can trace Paul’s journey toward Rome and mark places such as Caesarea, Crete, Malta, and eventually Italy.
Now start asking questions that make the geography matter:
Which part of the journey looks longest?
Where would travelling become difficult?
Why might someone choose this route?
What would be different if you had to make this journey without a car, airplane, or GPS?
For younger children, you can keep it very simple and focus only on where the story begins and ends.
Take it further
Use string to physically trace the route. If your child enjoys measuring, create a simple scale and estimate the distance.
You can also compare the journey with something familiar: "If we travelled that far from our house, roughly where would we end up?"
That turns an abstract biblical distance into something a child can picture.
3. Reconstruct the Scene
Children’s Bibles, movies, paintings, and Sunday school materials often give us very specific pictures of Bible stories.
But how much of what we picture is actually in the text?
This activity teaches kids to slow down and notice the difference between what Scripture says and what we assume.
What you need:
Paper, pencils or markers, and a Bible.
Good passages to try:
David and Goliath in 1 Samuel 17, Jesus calming the storm in Mark 4, Daniel in the lions’ den in Daniel 6, the birth of Jesus in Luke 2.
Choose a scene and read it without showing your child any illustrations first.
Ask them to draw the scene using only information they can find in the passage.
If they want to add something, ask:
Where does the passage say that?
That does not mean they cannot use imagination. It simply helps them recognize when they are imagining something rather than reading it directly from the text.
Once the drawing is finished, compare it with an illustrated Bible, painting, or other depiction you already own.
Ask:
What did the artist add?
What details did you both notice?
What did you picture differently?
Was anything in the story less specific than you expected?
Take it further
Try the activity again with another person drawing independently. Then compare the two pictures.
It is fascinating how differently two people can imagine the same passage.
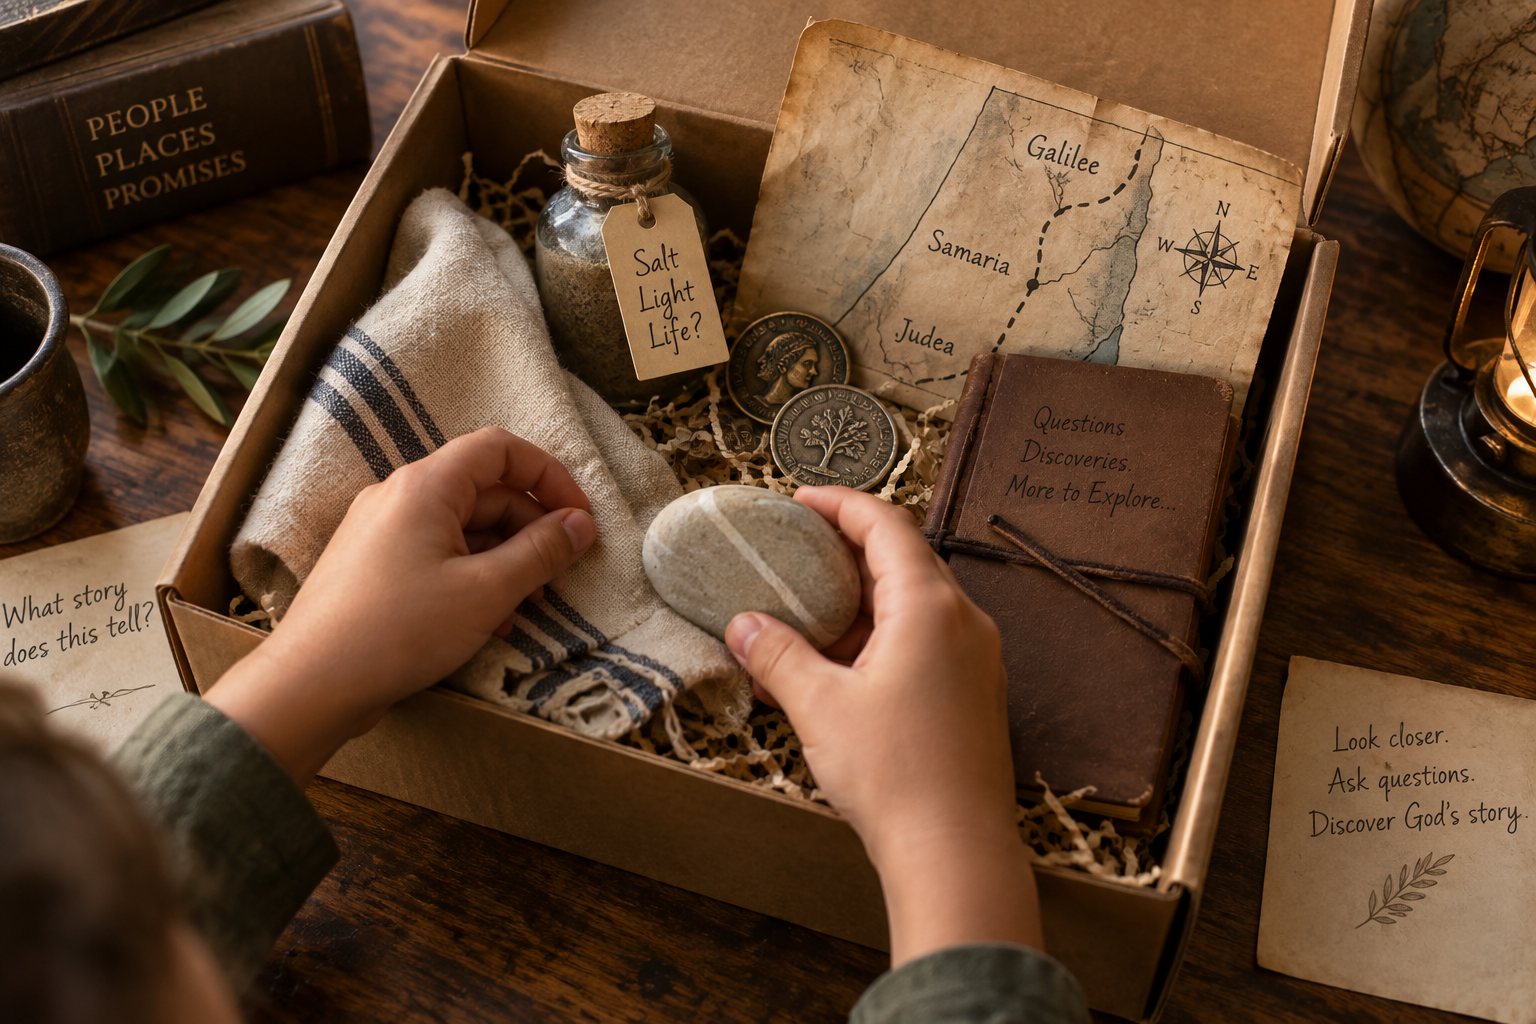
4. Create an Artifact Mystery Box
This is one of the easiest ways to turn a familiar Bible story into an investigation.
Instead of telling your child which story you are studying, give them a small collection of objects that point toward it.
What you need:
A shoebox or small bag and three to five ordinary household objects.
For David and Goliath, you could include:
a smooth stone
a piece of leather or string to represent a sling
a small measuring tape
something metallic to represent armour
For the story of Joseph, you might include:
colourful fabric
a handful of grain
a small cup
a simple map showing Egypt
For the Good Samaritan, you might use:
a strip of cloth
a small container of oil
a few coins
a simple road map
Let your child examine the items before opening the Bible.
Ask:
What do these objects have in common?
What kind of story might they belong to?
Which object seems most important?
Then read the passage and have them identify where each object connects to the story.
Not every object has to be a perfect historical replica. The point is to give the child something tangible to investigate.
Take it further
Reverse the activity.
After reading a different story, have your child create an artifact box for you or a sibling. Their job is to choose objects that provide enough clues for someone else to identify the story.
That requires them to think carefully about which details actually matter.
5. Build the Story Timeline
Some Bible stories are easy to remember in broad strokes but surprisingly difficult to put in the correct order.
A physical timeline turns sequencing into something children can move around, argue about, and correct.
What you need:
Index cards or pieces of paper, a marker, and a Bible.
Good passages to try:
Joseph’s story, Moses and the Exodus, Esther, the final week of Jesus’ earthly ministry, Paul’s conversion and early ministry.
After reading, write one event on each card.
For Joseph, you might have:
Joseph receives the coat.
Joseph has dreams.
Joseph is sold.
Joseph serves in Potiphar’s house.
Joseph is imprisoned.
Joseph interprets Pharaoh’s dreams.
Joseph becomes a ruler in Egypt.
Joseph’s brothers arrive for food.
Joseph reveals his identity.
Mix up the cards and let your child put them back into order.
Then go beyond sequencing.
Ask:
Which event changed everything?
Which part of the story seems to take the longest?
Which events happened because of a decision someone made earlier?
Take it further
Add a second row underneath called What changed?
Under each event, write one consequence. This helps children see cause and effect rather than treating the story as a collection of disconnected scenes.
6. Become a Bible-Time Reporter
Some children will happily write a paragraph if you call it a paragraph.
Others would rather interview Pharaoh.
This activity uses storytelling, speaking, and imagination without requiring an elaborate setup.
What you need:
A notebook, pencil, and optional homemade microphone made from whatever you have around the house.
Good passages to try:
Daniel 6, Esther 5 to 7, John 9, Acts 16, Luke 19.
After reading the story, choose one child to be the reporter and another person to play someone from the passage.
The reporter must prepare five questions.
For Daniel, they might ask:
What were you thinking when you heard about the new law?
Why did you keep praying?
What happened when the guards arrived?
What was the king doing while you were in the lions’ den?
What surprised you most about what happened next?
The person playing Daniel then answers using what the passage actually tells us.
If the Bible does not give enough information, they can say:
"We don't know."
That is part of the activity.
It teaches children that there is a difference between evidence and imagination.
Take it further
Switch characters and repeat the interview.
What questions would you ask the king? What about one of Daniel’s accusers?
The same story can look very different depending on whose perspective you examine.
7. Make a Bible Field Journal
A field journal is not a worksheet with a nicer cover.
The difference is that the child decides what is worth recording.
What you need:
A blank notebook, pencil, coloured pencils if desired, and a Bible.
On the first page, create five optional symbols:
? Something I wonder about
! Something surprising
★ Something that seems important
→ A connection to another passage
○ A person, place, or object I want to investigate
Then read a passage normally.
Whenever your child notices something, they can add it to their journal using one of the symbols. They can write a sentence, sketch something, create a tiny map, record a name, or simply jot down a question.
There is no requirement to fill the page.
That matters.
The journal works best when it feels like a record of discoveries rather than an assignment that must be completed.
Take it further
Once every few weeks, flip back through the journal and choose one old question to revisit.
Your child may already know the answer. They may find a connection they had not noticed before. Or the question may still be open.
That creates a visible record of how their understanding is growing over time.
The activity is not the point
Maps, mystery boxes, drawings, timelines, interviews, and field journals can all make Bible reading more engaging.
But none of them should become the main event.
The activity should send the child back into the text, not pull them away from it.
A good screen-free Bible activity creates a reason to look more carefully, notice another detail, ask a better question, or understand the setting more clearly.
Sometimes that will mean spending twenty minutes building an evidence board.
Other times, you may simply put three objects on the table, read a story, and have a five-minute conversation.
Both can work.
You do not need to transform every family Bible time into a production. Pick one idea that sounds enjoyable, try it with a story your child already knows, and see what happens.
If it leads to another question, another discovery, or a child opening the Bible because they genuinely want to check something for themselves, the activity has done its job.